
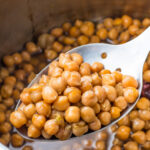
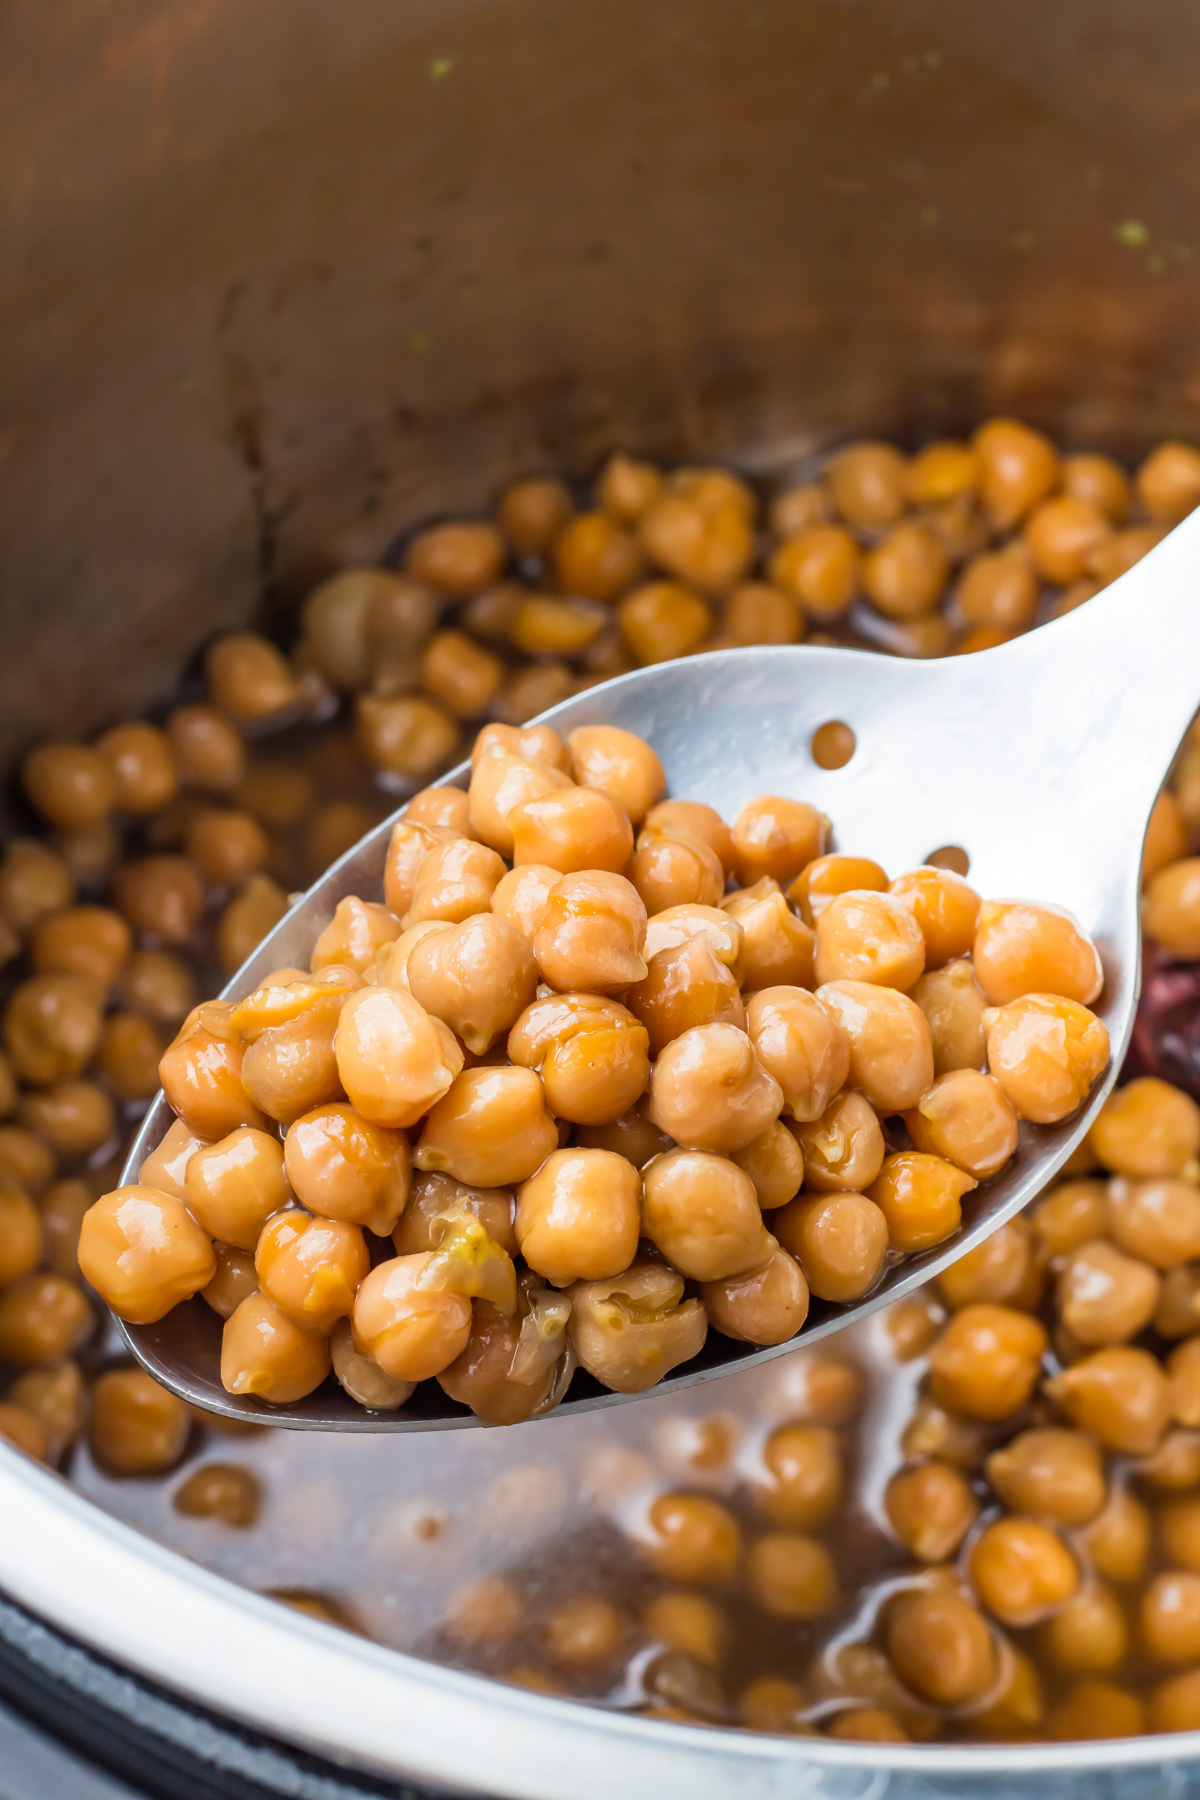
Instant Pot chickpeas are soft, buttery, and soak up flavor like a dream. Toss in your ingredients, press a button, and you’ve got perfectly cooked chickpeas ready for salads, soups, hummus, or whatever dish you’ve got planned. Make them once and you’ll never go back.
Chickpeas are packed with plant-based protein, fiber, and minerals like potassium and iron, which makes them a smart base for everyday meals. I started making big batches from dried and keeping them in the fridge, and the taste and texture are just so much better than canned. They’re ready when I need them and way more satisfying in everything from hummus to grain bowls.
❤️ Why you will love this recipe
- Zero soaking: No need to prep overnight or plan ahead.
- Hands off: The Instant Pot does all the work.
- Better texture: Soft but never mushy, perfect for any dish.
- Big batch: Great for meal prep and freezer storage.
- Budget friendly: Dried chickpeas are way cheaper than canned.
- Super versatile: Use them in hummus, salads, soups, bowls, and more.
🗝️ Key ingredients & substitutions
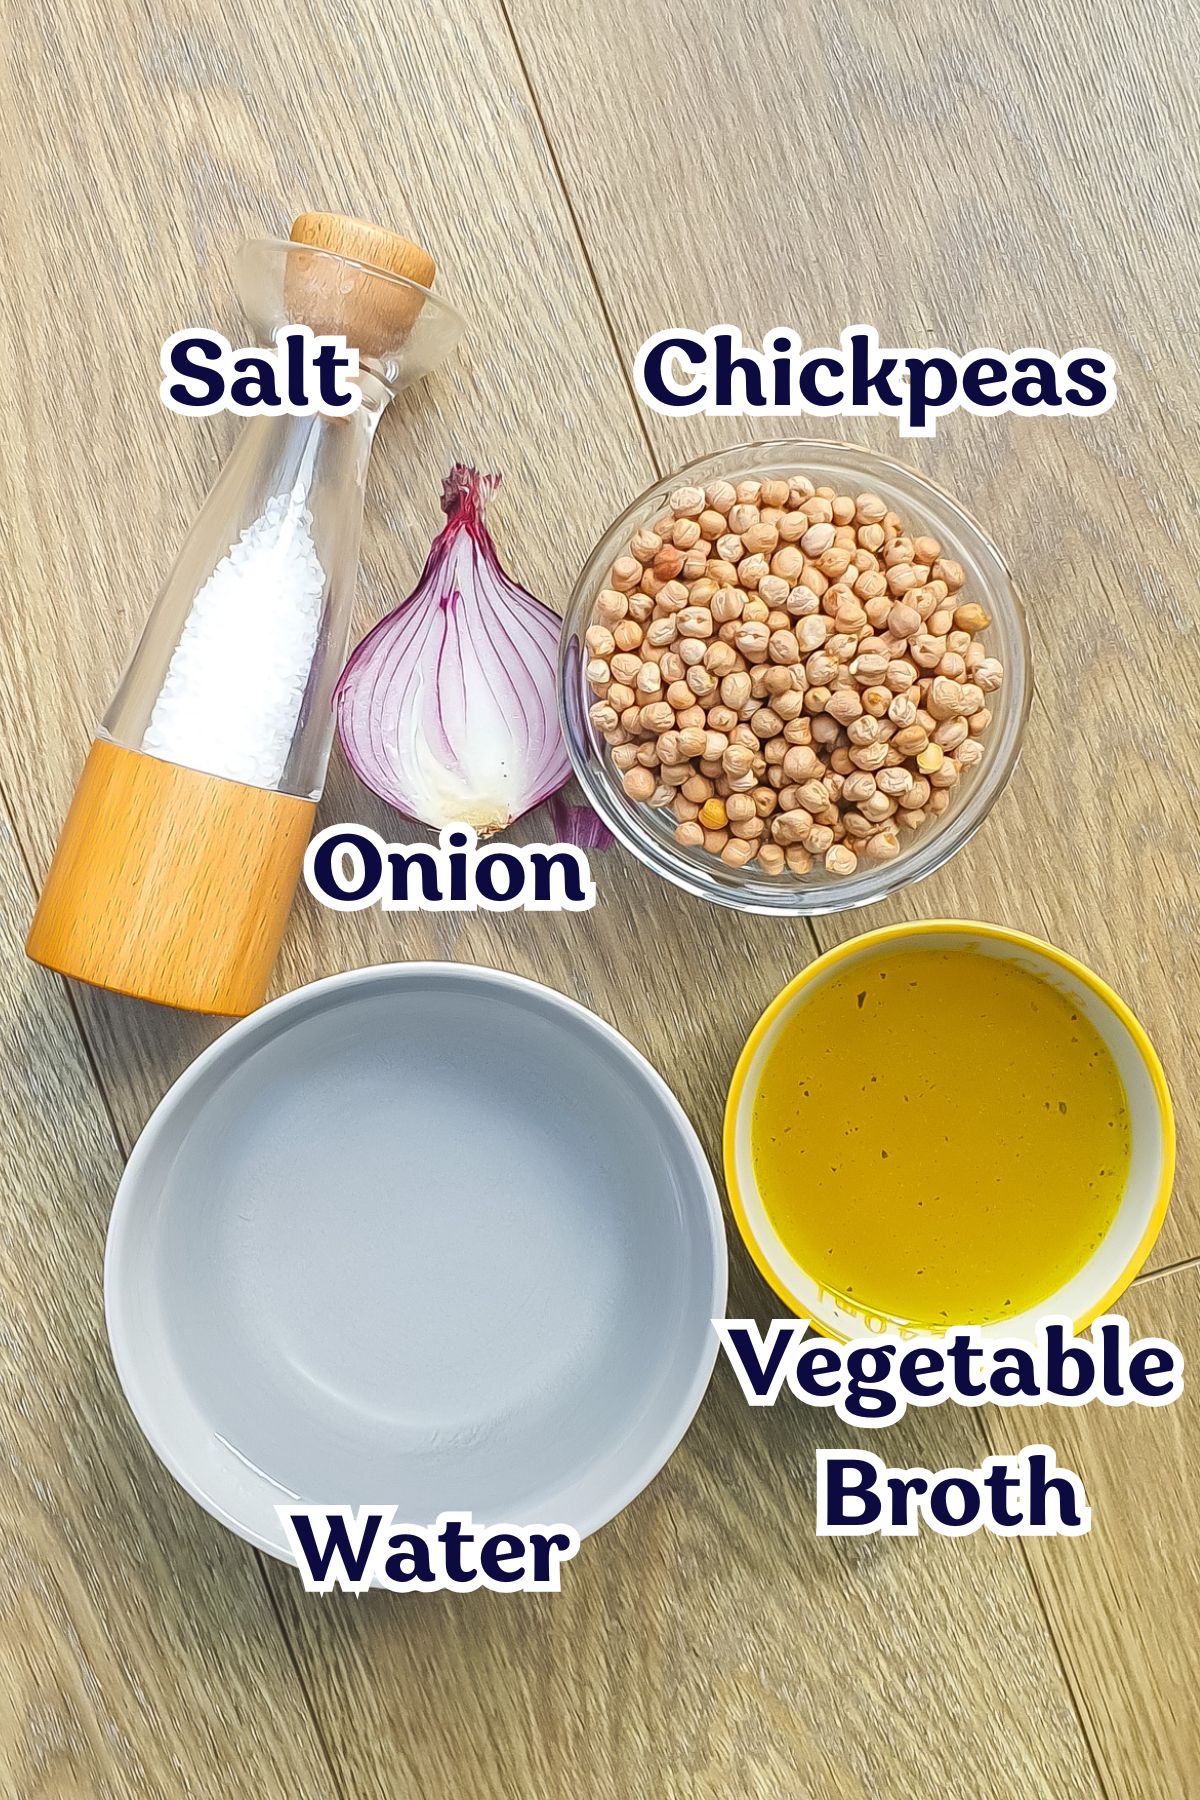
- Dried chickpeas: Just your regular bag from the store, no fancy varieties required – and no need to soak!
- Onion (with skin): Adds subtle depth to the broth. Use any type you have, sliced in half – no peeling or dicing.
- Salt: Brings out flavor while they cook. You don’t need much.
- Vegetable broth: Adds more flavor than plain water. Any broth works, or drop in a couple of stock cubes.
- Water: Makes sure everything cooks evenly and stays submerged.
🥣 How to make instant pot chickpeas
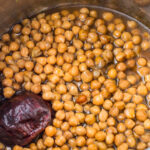
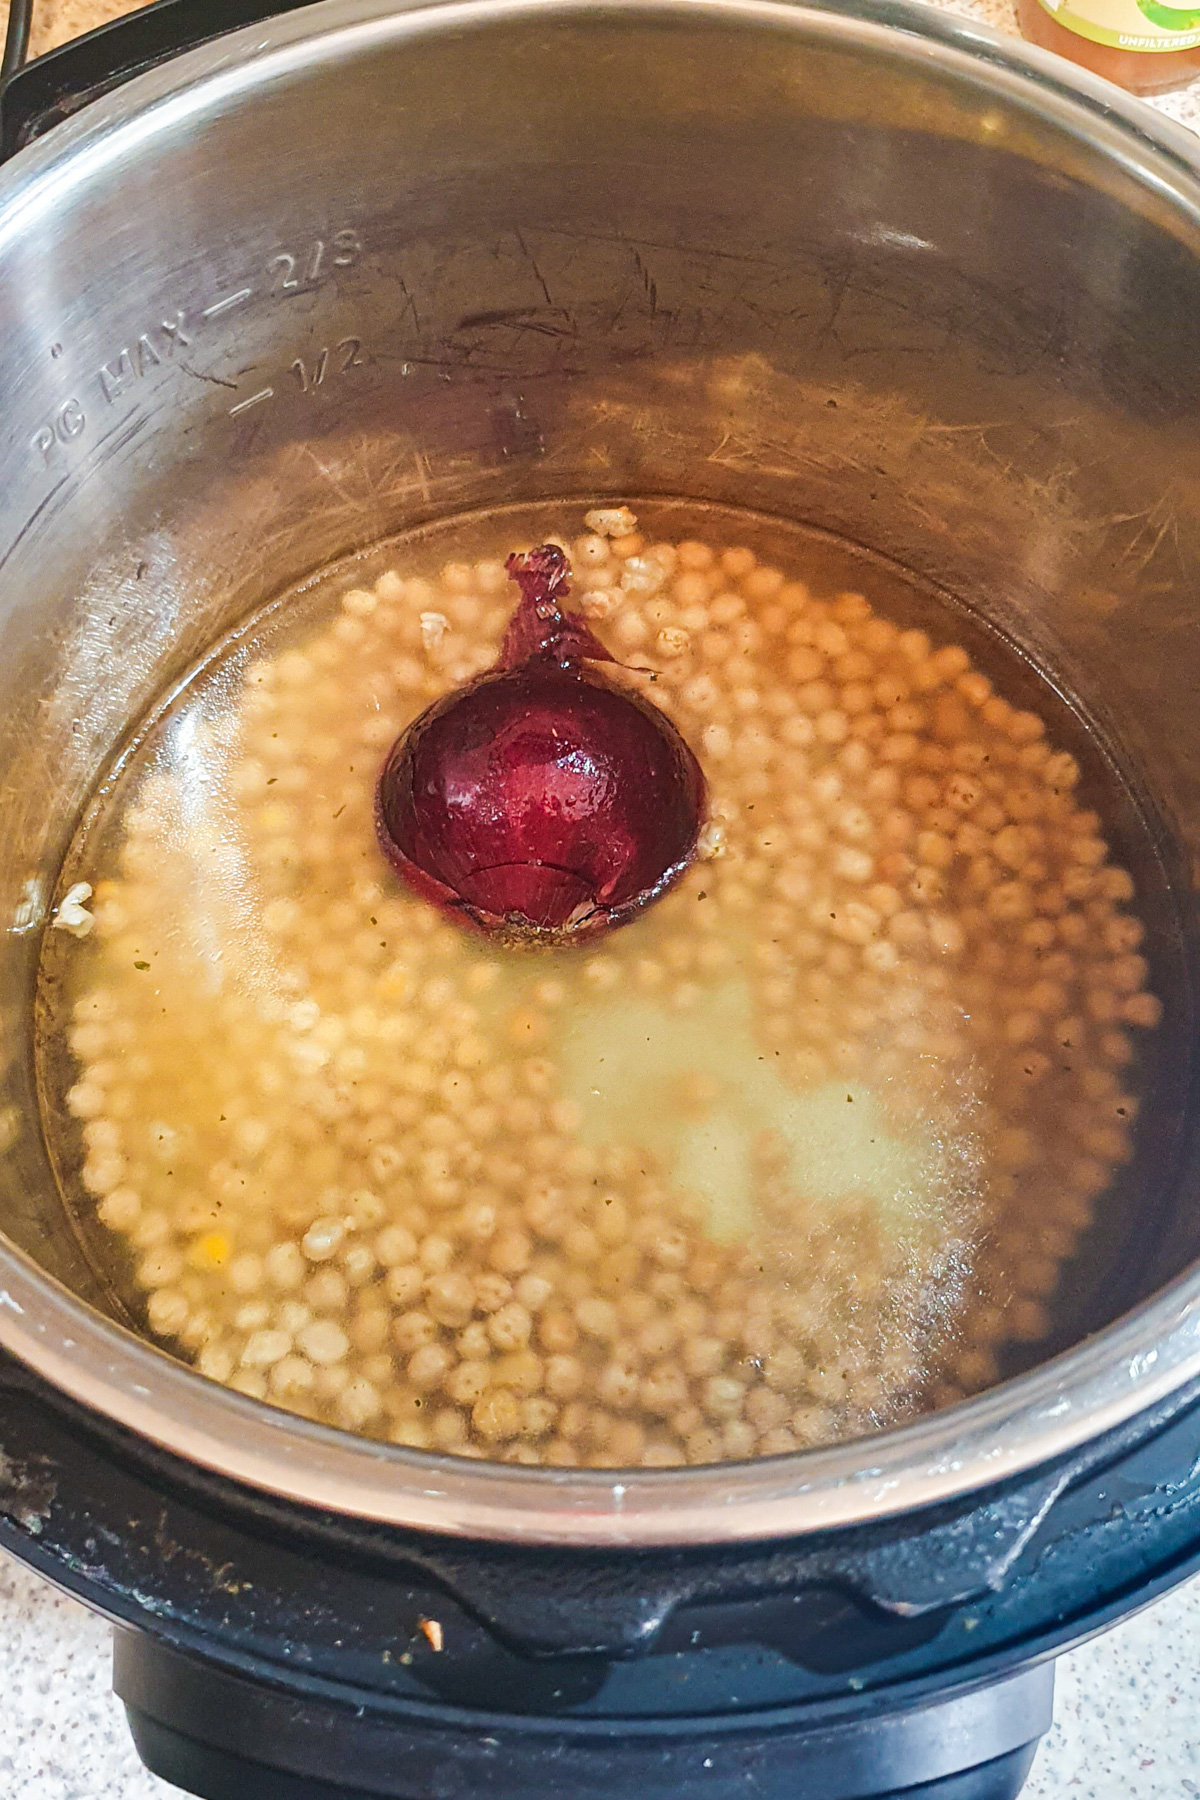
- Add ingredients: Pour the chickpeas, onion, salt, broth, and water into the Instant Pot.
- Seal the lid: Lock it into place and make sure the steam vent is set to “sealed.”
- Pressure cook: Cook on high pressure for 50 minutes.
- Choose your texture: For firmer chickpeas (great in salads or falafel), turn the valve to “venting” right away. For softer, creamier chickpeas, let them sit for 15 minutes before releasing pressure.
- Check and test: Carefully open the lid. If they’re still a little firm, pop the lid back on and cook for another 5 to 10 minutes.
- Quick release: Use the quick release method when adding extra time—no need to wait again.
- Strain and save: Drain the chickpeas and don’t toss that liquid. The cooking broth is gold for soups, stews, and hummus.
- Cool and store: Let them cool completely before storing in the fridge or freezer.
🪄 Recipe notes & tips
- No soaking needed: Dried chickpeas go straight into the pot, which makes this perfect for last-minute prep.
- Leave the onion skin: It adds color and richness to the cooking liquid without any extra effort.
- Watch the liquid: Chickpeas should be fully submerged before cooking. If they aren’t, add a little more water.
- Cool completely: Let them cool before storing so they don’t get mushy in the fridge.
- Freeze in portions: Freeze in 1 to 2 cup portions so you can grab just what you need for any recipe.
- Save that broth: The leftover cooking liquid is full of flavor and nutrients – use it in place of water in soups or sauces.
🫙 Storage instructions
- Refrigerator: Store cooked chickpeas in an airtight container in the fridge for up to 5 days.
- Freezer: Freeze in zip-top bags or containers for up to 3 months.
- Cooking liquid: Freeze separately in ice cube trays or small containers for easy use in soups and stews.
- Reheat: Warm gently on the stove or in the microwave with a splash of water or broth to keep them soft.
✨ Variations
- Garlic boost: Add a few whole garlic cloves to the pot for extra flavor.
- Bay leaf: Toss one in for a subtle earthy note that pairs well with soups and stews.
- Spiced batch: Stir in cumin, smoked paprika, or turmeric for a flavor twist right in the pot.
- Onion-free: Skip the onion entirely if you’re planning to use the chickpeas in sweet or very neutral dishes.
- Broth swap: Use chicken broth, beef broth, or mushroom broth if you want to mix up the base.
- Low-sodium: Use water instead of broth and skip the salt, especially if you’re cooking for low-sodium diets.
- Soaked chickpeas: If you’ve pre-soaked them, reduce cook time to 15–20 minutes with natural release.
🍽️ How to use instant pot chickpeas
- Toss into salads: Add straight to a leafy green salad or my Gluten Free Pasta Salad for extra protein and texture.
- Make creamy hummus: Blend with tahini, lemon juice, garlic, and a splash of the cooking liquid.
- Add to soups and stews: Stir into my Easy Instant Pot Lentil Soup or Slow Cooker Vegetable Stew for a hearty upgrade.
- Smash for toast: Mash with lemon, olive oil, and garlic, then spread over sourdough.
- Mix into grain bowls: Layer with rice or quinoa, roasted veggies, and a punchy sauce.
- Roast for snacks: Dry them off, toss with oil and spices, then roast until crispy.
- Stuff into wraps: Combine chickpeas with crunchy veg and a drizzle of dressing for a quick lunch wrap, or roll it all up in my Keto Egg Wraps for a lower carb version.
❓ Frequently asked questions
They might just be older beans. Turn the instant pot back on for 5 minutes on high and let the pressure release naturally for 10 minutes. Try adding a pinch of baking soda next time to help them soften more evenly.
Usually, it’s because the beans are a bit stale. Fresh dried chickpeas cook up beautifully, but older ones can be stubborn.
You can. Cover them with water, cook for five minutes, let the pressure release naturally, and they’re ready to cook in another dish.
😋 More Instant Pot recipes you will love
- Instant Pot Black Beans
- Instant Pot Black-Eyed Peas
- Instant Pot Vegan Chili
- Instant Pot Basmati Rice
- Instant Pot Boiled Peanuts
Have you made this recipe? I’d love to know <3 Tag me (@makehealthyrecipes) on Facebook and Instagram, Pin it on Pinterest, and please give it 5 stars with a review below! Don’t forget to subscribe to the email list (top right of this page) for sparkly new recipes in your inbox.
📖 Recipe
Instant Pot Dry Chickpeas Recipe (No Soak)
Ingredients
- 1 cup dried chickpeas rinsed and sorted
- 1/2 medium onion with the skin on red, white or yellow, not chopped up but kept as a half
- 1/2 teaspoon salt
- 1 cup vegetable broth or broth of choice, or water (you can add 2 stock cubes)
- 2 cups water
Instructions
- Add all of the ingredients to the Instant pot.1 cup dried chickpeas, 1/2 medium onion with the skin on, 1/2 teaspoon salt, 1 cup vegetable broth, 2 cups water
- Make sure the the steam vent is set to "sealed" and pressure cook on high for 50 minutes.
- If you're making chickpeas for salad or falafel and need them to have a bit of bite, let the steam out by immediately flicking thee seal to "venting". For softer chickpeas when making hummus, allow the beans to sit in the pot for 15 minutes before letting the steam out by flicking the seal to "venting".
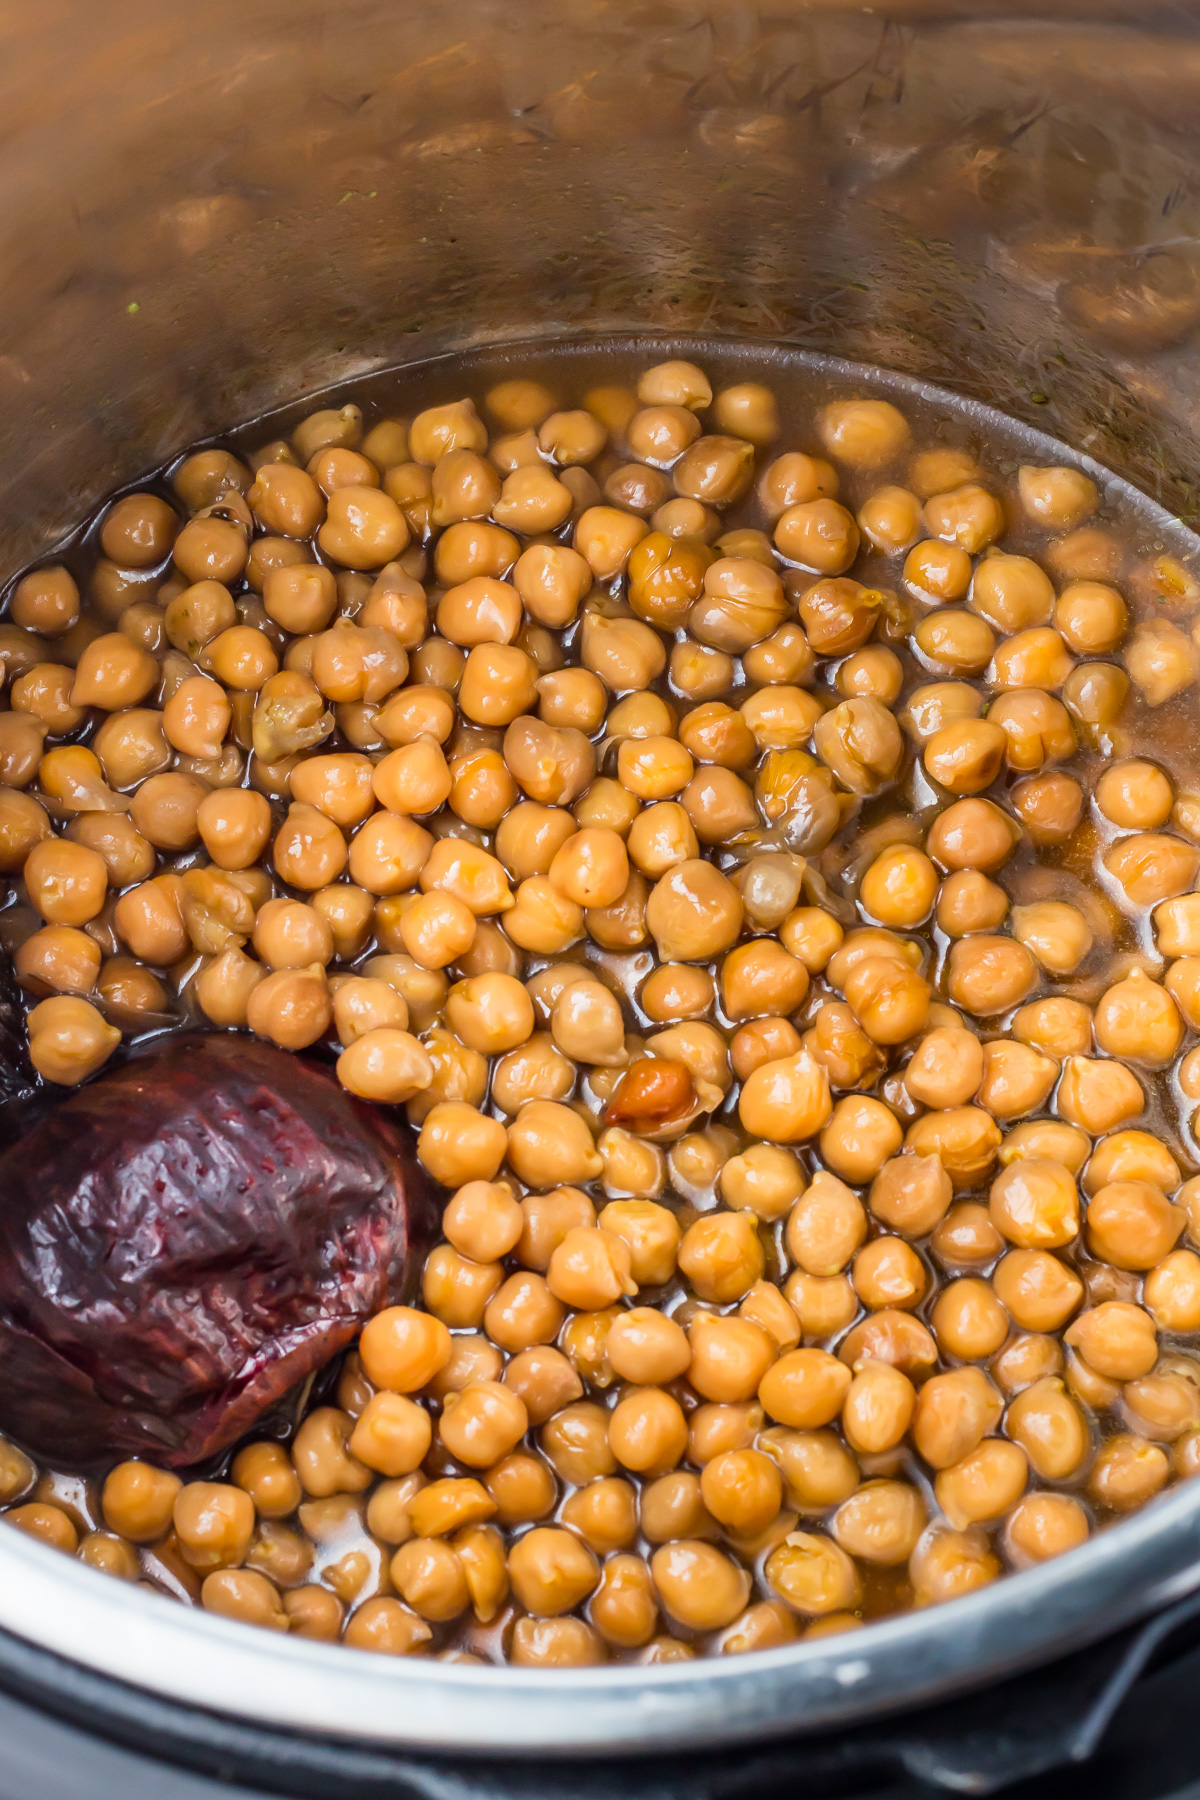
- Carefully remove the lid and check on the chickpeas. Mine are always perfectly cooked at this point, but if yours are sill a little too hard, pop the lid back on and cook on high pressure for an additional 5-10 minutes, opening the steam vent immediately following the cook time.
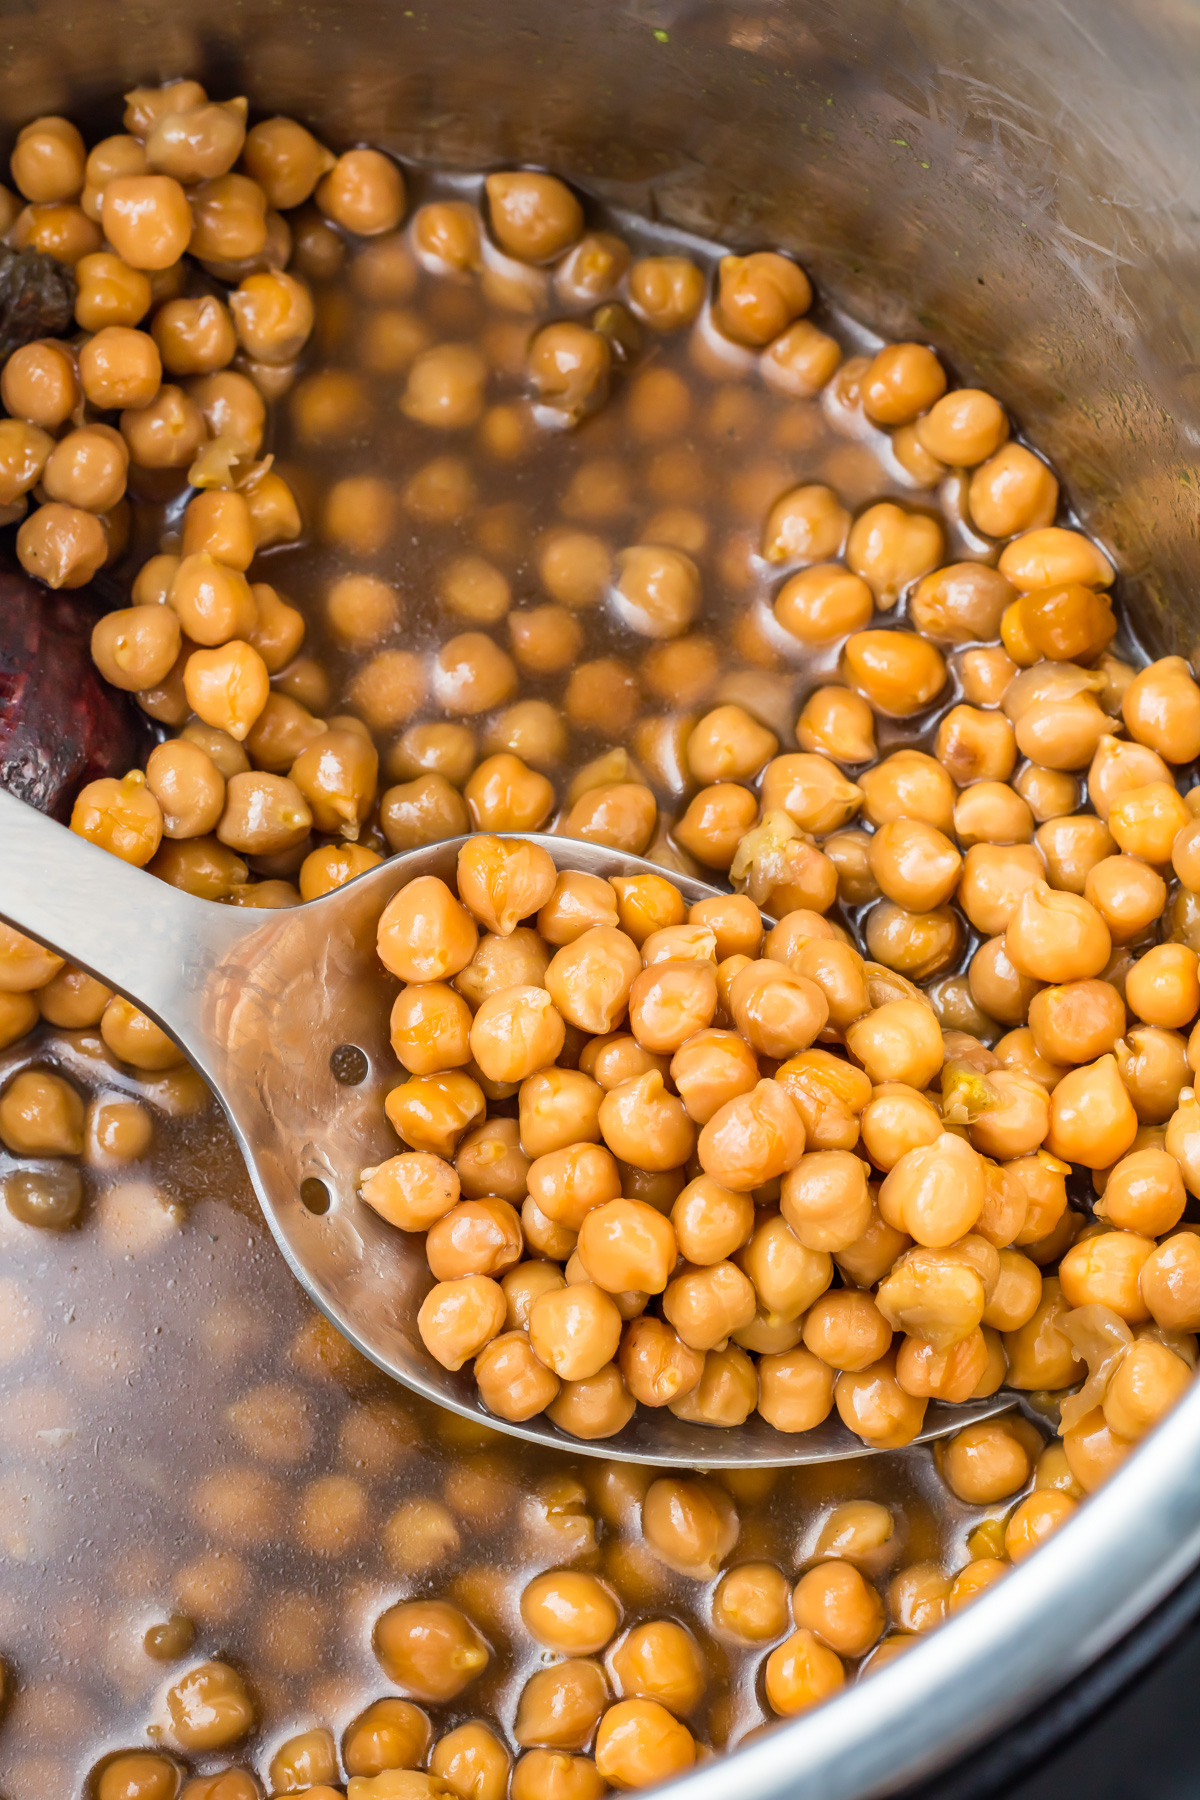
- Remove the onion and strain the excess liquid. This liquid can be used in soups, stews, and hummus.
- Dig in and enjoy!
Notes
- No soaking needed: Dried chickpeas go straight into the pot, which makes this perfect for last-minute prep.
- Leave the onion skin: It adds color and richness to the cooking liquid without any extra effort.
- Watch the liquid: Chickpeas should be fully submerged before cooking. If they aren’t, add a little more water.
- Cool completely: Let them cool before storing so they don’t get mushy in the fridge.
- Freeze in portions: Freeze in 1 to 2 cup portions so you can grab just what you need for any recipe.
- Save that broth: The leftover cooking liquid is full of flavor and nutrients – use it in place of water in soups or sauces.
Storage instructions:
- Refrigerator: Store cooked chickpeas in an airtight container in the fridge for up to 5 days.
- Freezer: Freeze in zip-top bags or containers for up to 3 months.
- Cooking liquid: Freeze separately in ice cube trays or small containers for easy use in soups and stews.
- Reheat: Warm gently on the stove or in the microwave with a splash of water or broth to keep them soft.